


No-knead bread.Yes, you’re reading that right! Delicious, light, homemade bread with a thin, crispy crust and absolutely no kneading required. I even have two versions for you: a quick no-knead bread and a slower overnight version. So you can always make this recipe to suit your schedule!
Table of Contents

Why You’ll Love This Recipe
Love freshly baked bread, but hate the thought of endless kneading sessions? With this easy and delicious no-knead recipe you’ll have a freshly baked loaf without the hard work!
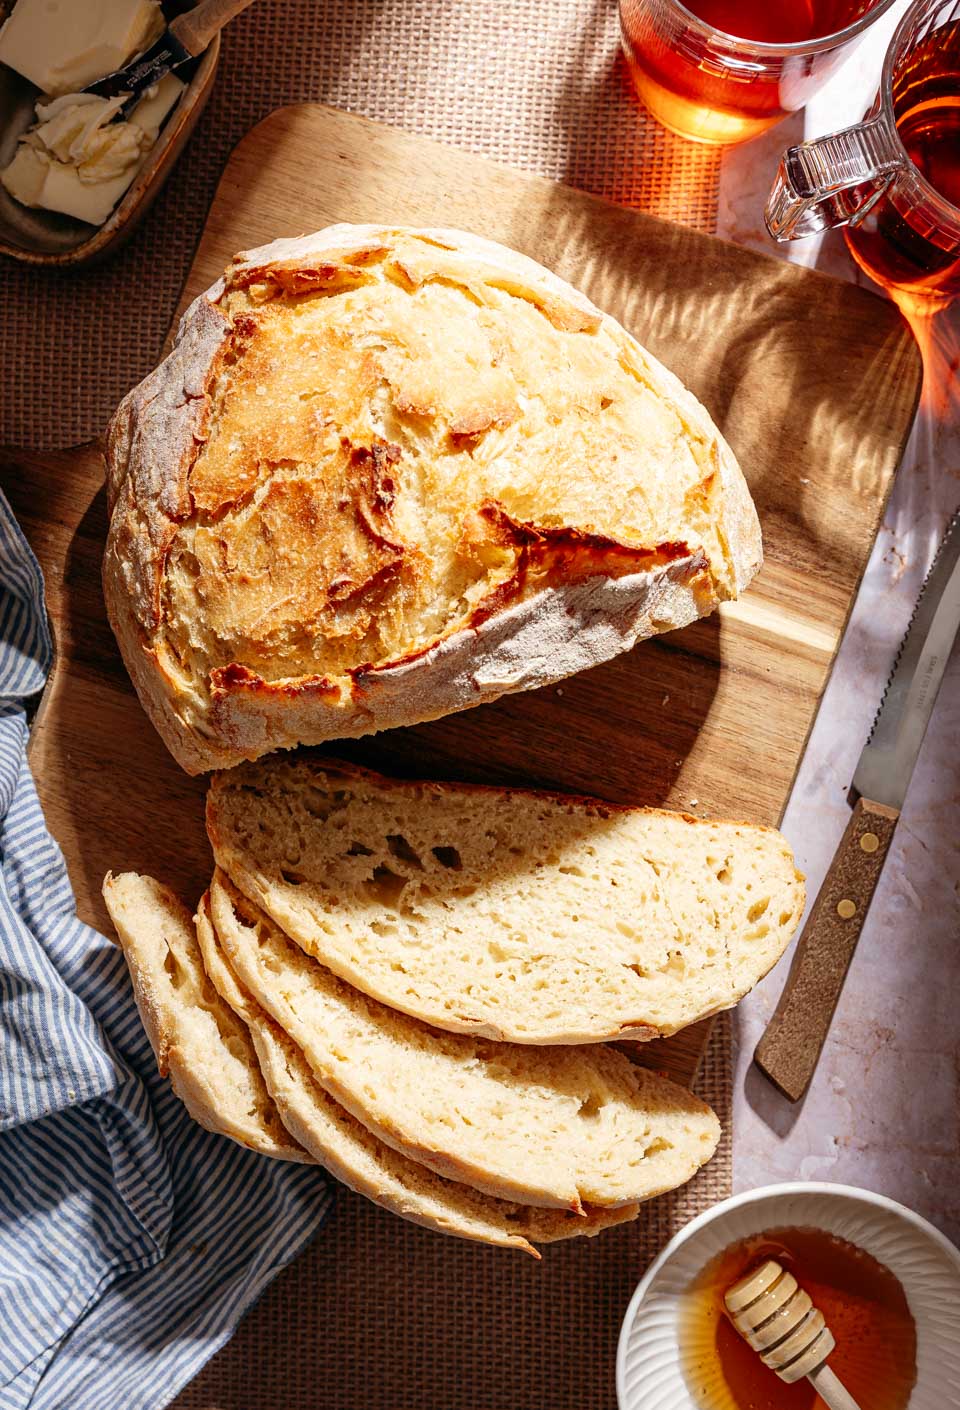
Homemade No-Knead Bread in a Dutch Oven
The ingredients for making this fantastic loaf cannot be simpler; all-purpose flour, active dry yeast and a little water and salt. For the quick version you’ll use a little extra yeast and you add two teaspoons of sugar or honey to help speed up the rising process.
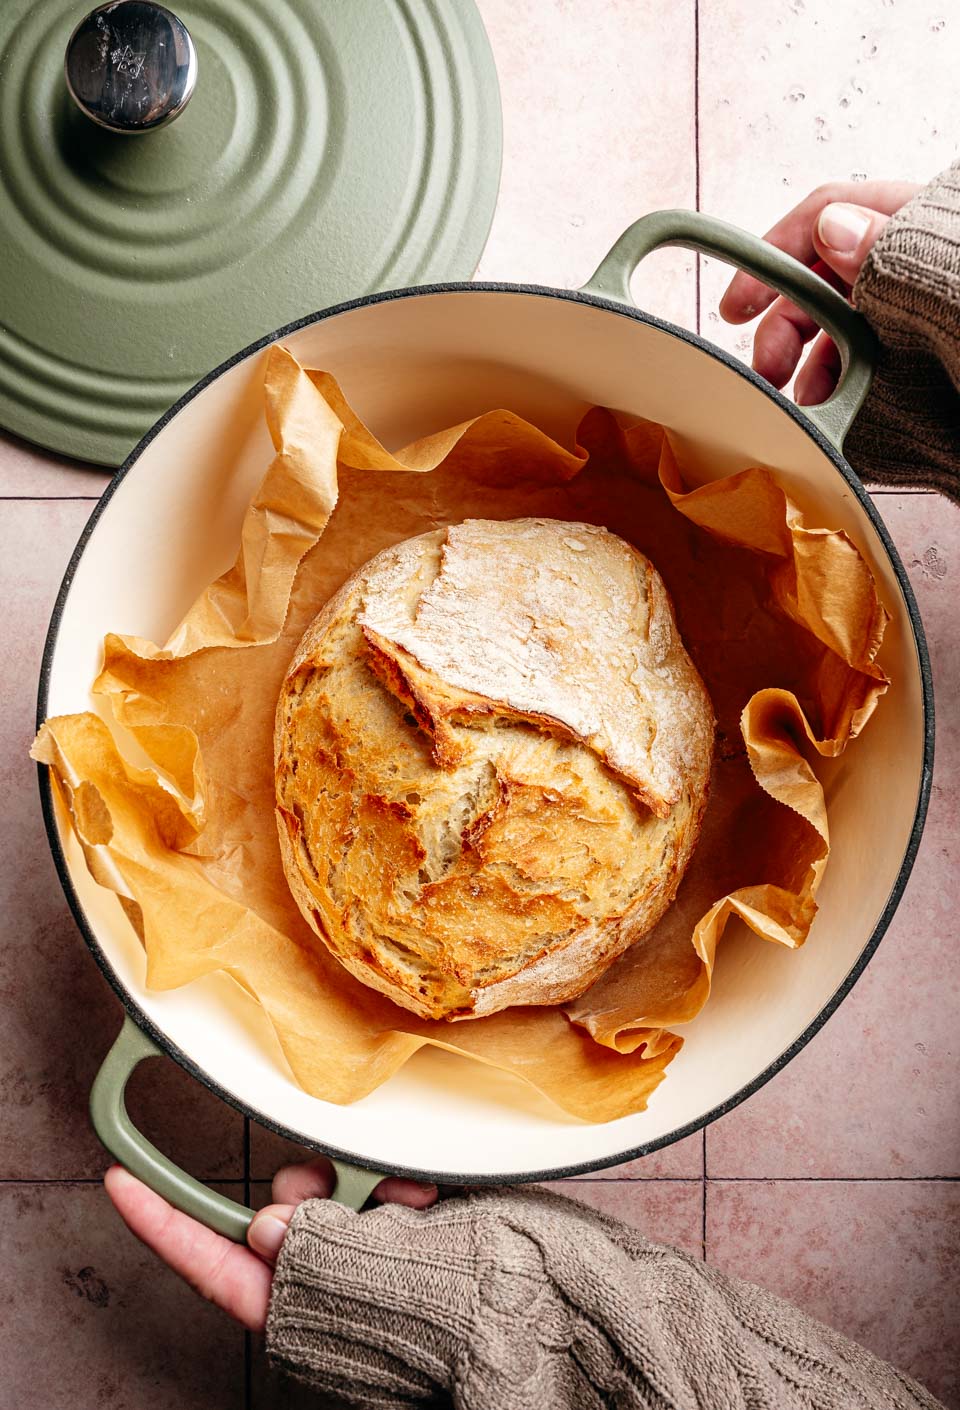
Using a Dutch oven for baking the bread is the best way to create that beautiful crisp crust! The air and moisture get trapped inside the Dutch oven. If you don’t own one you can create a similar effect with another oven-safe pot of cast-ron pan.
The recipe card below explains the overnight version, while the recipe notes include the instructions for the quick version. But what is the difference between the two?
Quick vs. Overnight No-Knead Bread
For the overnight version, simply combine all the ingredients (all-purpose flour, dry yeast, salt, and lukewarm water) in a large bowl. Stir everything together with a wooden spoon, then cover the bowl with plastic wrap and a clean kitchen towel.
Leave the dough in a draft-free spot that’s neither too warm nor too cold. Your kitchen counter is usually perfect. Let the dough rise for about 12 hours, or until doubled in size. It may rise a little faster during the summer and take a bit longer in the winter.
I often prepare the dough before going to bed so I can bake a fresh loaf the next morning.
For the quick version, you’ll use a little more dry yeast (one standard packet) and add some sugar or honey. This helps speed up the rising process.
And don’t worry, there’s still no kneading involved! Just combine everything in a bowl and stir with a wooden spoon until no dry flour remains. Let the dough rise for about an hour, or until doubled in size, and then bake it just like the overnight version.
It’s perfect for those mornings when you realize you’re out of bread, don’t feel like going grocery shopping, or simply want a delicious homemade loaf for lunch.
I make both versions depending on when I need the bread, and I honestly think they’re equally delicious.
Recipe Ingredients
One of the best things about this recipe is that you probably already have most of the ingredients in your pantry. They’re all basic staples with a long shelf life, so you can whip up a delicious loaf whenever you feel like it.
- all-purpose flour – I use regular all-purpose flour for this recipe. You can also use whole wheat flour, but keep in mind that the bread will be a little denser and less airy.
- active dry yeast – I usually keep a few packets of dry yeast in my pantry. They typically contain 7 grams (1/4 ounce) each, have a long shelf life and are perfect for this homemade bread.
- lukewarm water – straight from the tap is fine. Lukewarm means roughly body temperature around 98˚F/37˚C. When you test it with your fingers, it should feel comfortably warm, but never hot.
- salt – an essential ingredient when baking bread. It adds flavor and also helps improve the texture of the loaf.
- Dutch oven – a large, oven-safe Dutch oven with a tight-fitting lid is essential for this recipe. Baking the bread in a covered pot helps create that beautiful crispy crust.
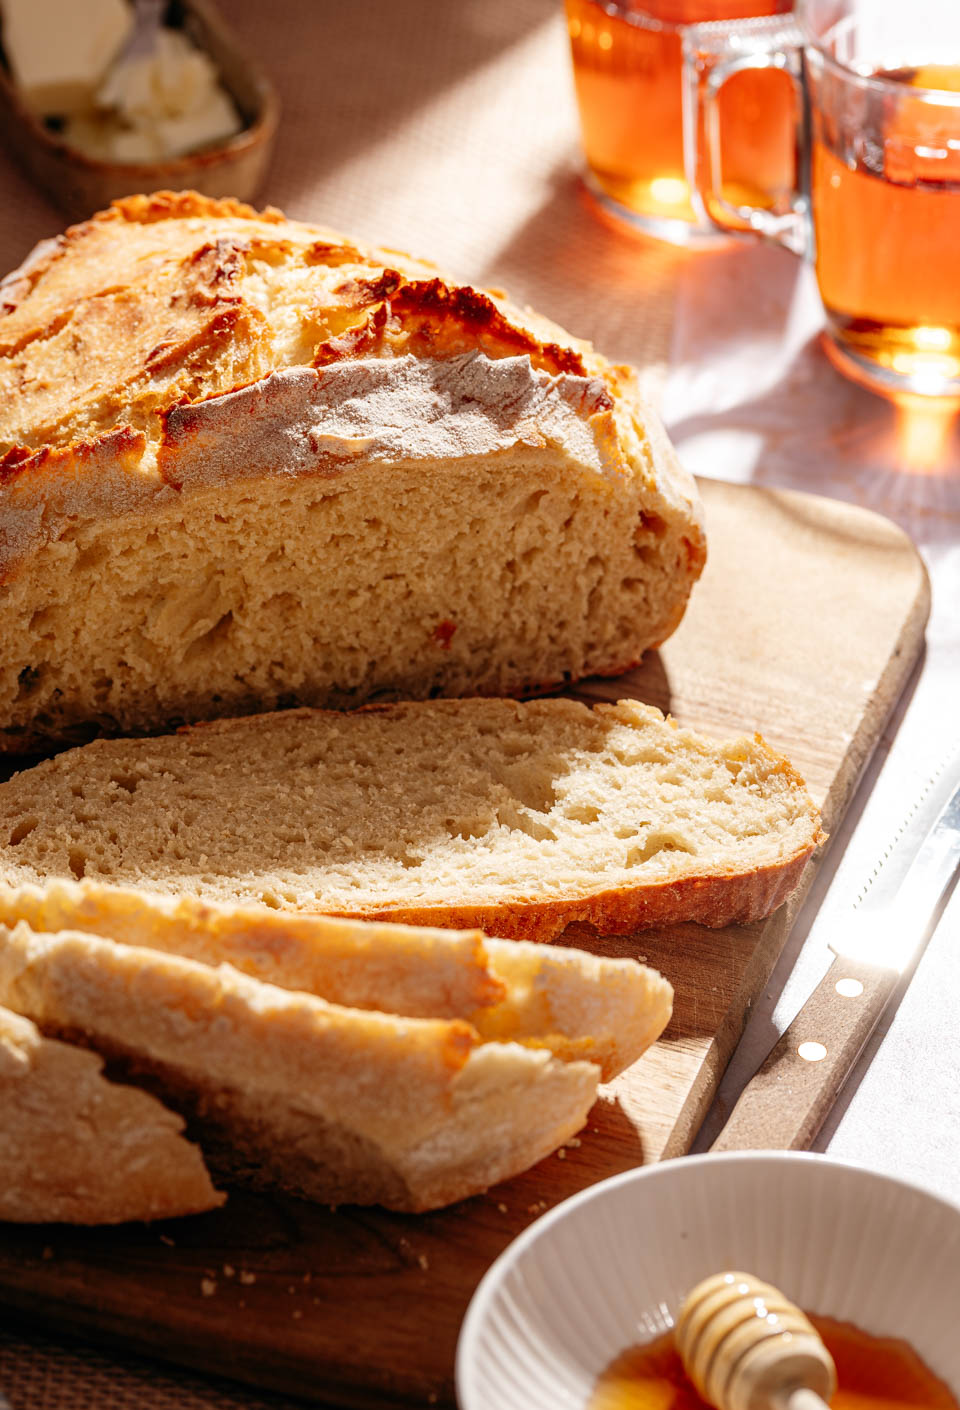
Easy Homemade No-Knead Bread
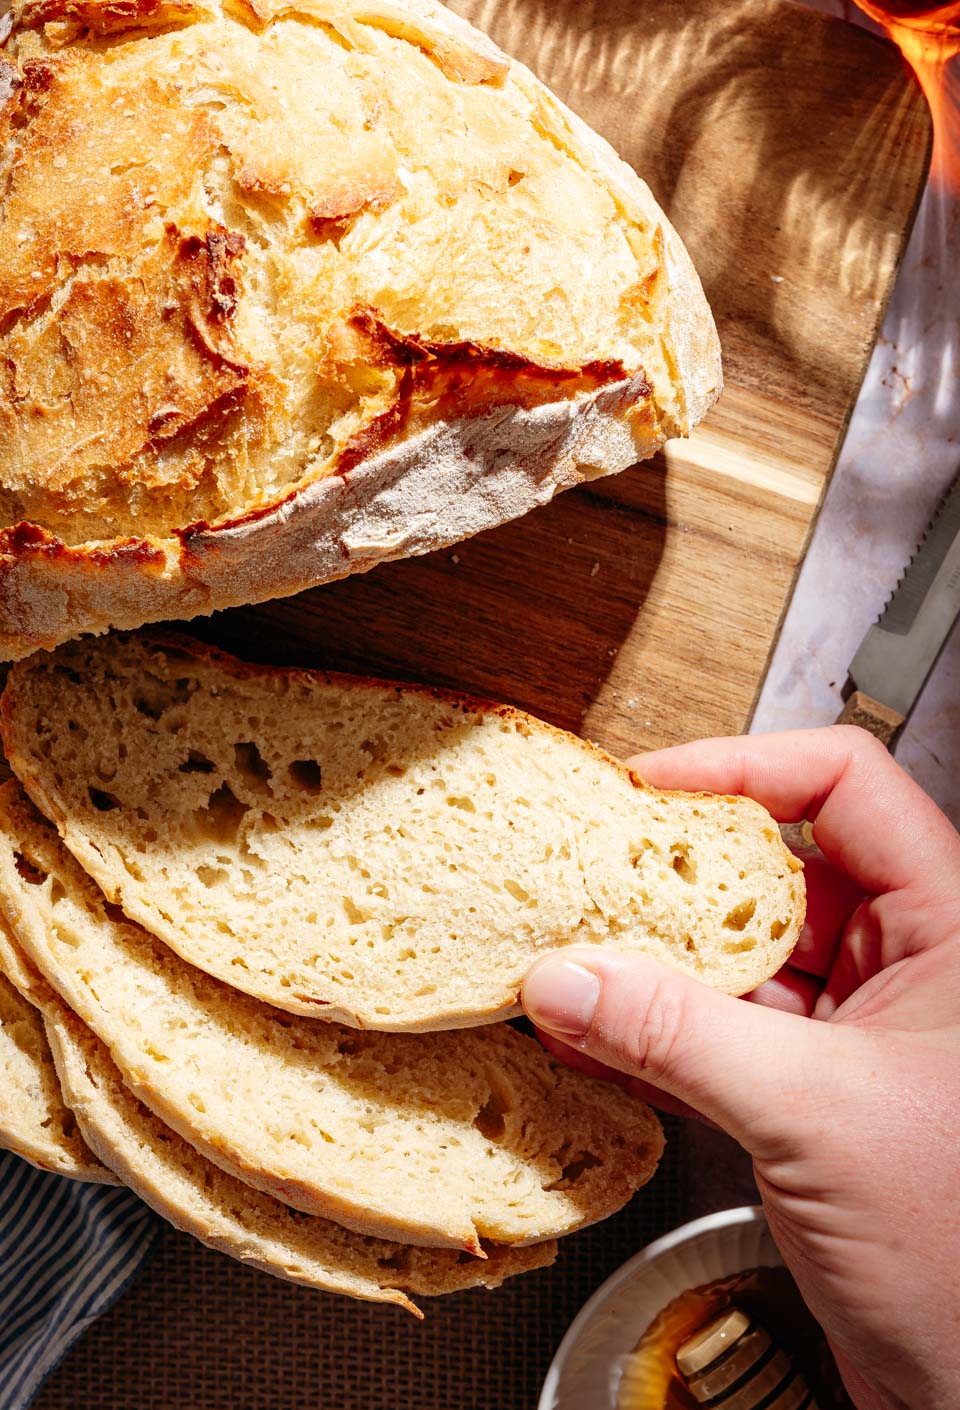
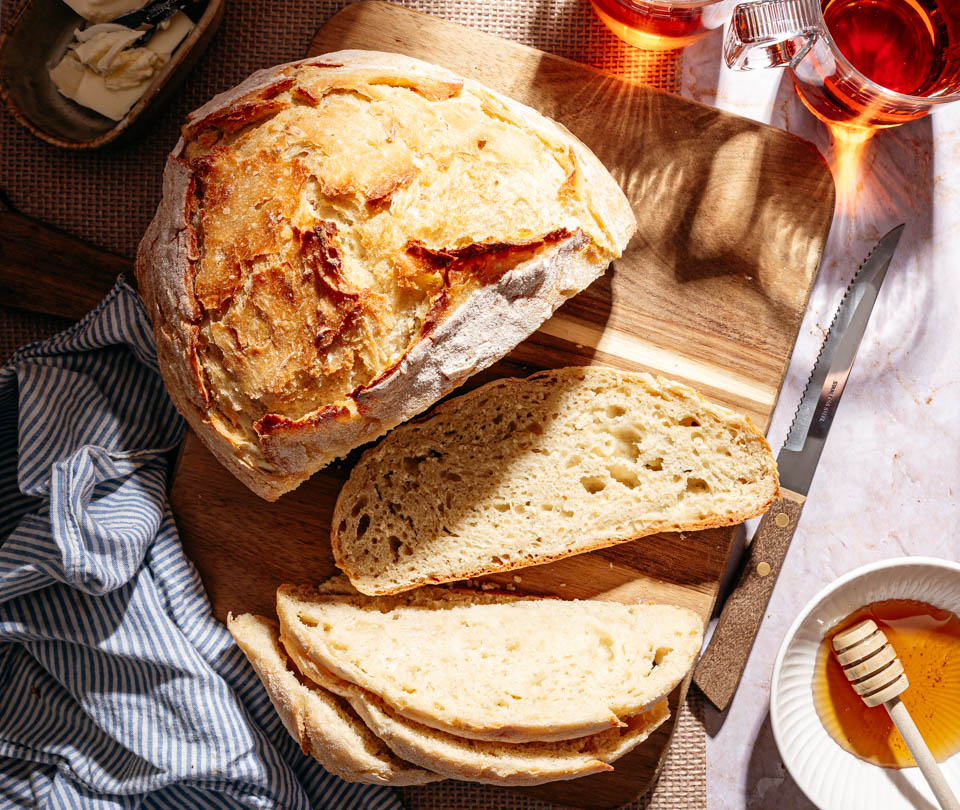
Once you’ve made this no-knead bread, I’m pretty sure you’ll want to make it again and again. It’s wonderfully light and airy on the inside, with a delicious crispy crust. You can’t compare it with something like this sourdough ciabatta but it’s equally delicious.
How To Store No-Knead Bread
Like most homemade bread, this loaf is at its absolute best on the day it is baked. However, it’s still delicious the next day.
You can store it in a sealed bag at room temperature for about 2 to 3 days. Keep in mind that the crust will gradually soften during storage.
By day three I usually prefer to toast the bread or turn it into a delicious croque monsieur sandwich.
Some other favorite ways to use leftover bread here are a few of my favorite ways to use it:
- Homemade croutons – delicious on all kinds of soups but also for a caesar salad
- French toast – one of my favorite ways to use up any day old bread.
- Bread pudding – also great for leftovers!
FAQ No-Knead Bread
Why don’t you need to knead this bread?
Traditional bread recipes require kneading to develop gluten, which gives bread its structure. With no-knead bread, time does most of the work instead. As the dough rests and rises, gluten develops naturally, creating a light, airy loaf without all the effort of kneading.
What’s the difference between quick and overnight no-knead bread?
The main difference is the amount of yeast and the rising time. The overnight version uses less yeast and rises for approximately 12 hours, allowing more time for flavor to develop. The quick version uses more yeast and a little sugar or honey to speed things up, so the dough can rise in about an hour. Both versions produce delicious homemade bread, although the overnight version generally has a more developed flavor.
Can I use bread flour instead of all-purpose flour?
Yes! Bread flour contains more protein than all-purpose flour, which helps develop a stronger gluten structure. This can give your no-knead bread a slightly chewier texture and a more structured crumb. Both types of flour work well for this recipe.
Why is my no-knead bread dough so sticky?
Don’t worry, that’s completely normal! No-knead bread dough has a relatively high water content, which helps create its light, airy texture. It’s supposed to be much stickier than traditional bread dough. Generously flour your work surface and hands when shaping the loaf, but avoid adding too much extra flour.
Do I need a Dutch oven to make no-knead bread?
A Dutch oven is highly recommended because it traps steam during baking. This helps the bread rise properly and develop a beautifully crispy crust. If you don’t have one, you can use another oven-safe pot with a tight-fitting lid, provided it’s suitable for high temperatures. Make sure any handles and knobs are oven-safe at 450°F (230°C).
Why didn’t my no-knead bread rise?
There are several possible reasons. Your yeast may be expired, the water may have been too hot, or the room temperature may have been too cold. The overnight version also needs enough time to develop. Rather than relying strictly on the clock, look for dough that has noticeably increased in volume and has bubbles on the surface.

Ingredients
- 425 gram all-purpose flour
- 3 gram instant yeast
- 2 tsp salt
- 350 ml lukewarm water
Equipment
- 1 large Dutch oven with an oven-safe lid
INSTRUCTIONS (how to make this recipe):
- Add the flour, dry yeast, and salt to a large mixing bowl and stir to combine.
- Pour in the lukewarm water and mix thoroughly with a wooden spoon until no dry flour remains.
- Cover the bowl with plastic wrap and let the dough rise in a draft-free spot that’s neither too warm nor too cold for approximately 12 hours.
- After 12 hours, preheat the oven to 450°F (230°C), with the Dutch oven and its lid inside.
- Generously flour your work surface and turn the dough out onto it. Dust your hands with flour, as the dough will be quite sticky. Fold the edges of the dough toward the center to start forming a ball. Flip it over, using a bench scraper if needed, and gently shape it into a round, pulling the surface as taut as possible. Cover loosely with plastic wrap while the oven continues to preheat.
- Allow the Dutch oven to preheat for approximately 30 minutes. If the dough has spread out a little while resting, quickly reshape it into a round. Transfer the dough to a sheet of parchment paper.
- Carefully remove the hot Dutch oven from the oven. Using the parchment paper, lower the dough into the pot. Cover with the lid and bake for approximately 30 minutes.
- Remove the lid. If the bread still looks a little pale, continue baking uncovered for another 10–15 minutes, until the crust is beautifully golden brown.
- Remove the Dutch oven from the oven and carefully transfer the bread to a wire rack. Let it cool before slicing, and enjoy!
Labels/ brands in this article can be due to a paid collab. Some links on this page can be affiliate links. Read more: disclaimer.

